By: Shahrzad Taavoni, LA.c, Dipl OM, MACHM, B.S.
When you sprout at home, you control the entire process from start to finish. This means you can ensure the highest quality and freshness, eating your sprouts just days after they’ve begun to grow. Store bought sprouts sometimes use chemicals to keep mold at bay. They are usually not fresh and they are expensive. By sprouting properly and storing them in the refrigerator, you can avoid the risk of mold without resorting to chemical treatments.
Higher Vitamin Content
Sprouts, especially in their early stages of growth, are packed with vitamins. For instance, broccoli sprouts can contain up to 100 times more sulforaphane—a potent antioxidant and anti-cancer compound—than mature broccoli. Similarly, alfalfa sprouts are rich in vitamins A, C, and K, along with essential minerals like calcium and magnesium.
The increase in vitamin content during sprouting is due to the activation of enzymes that help convert the seed’s stored nutrients into forms that are easier for your body to absorb. This means that when you consume sprouts, you’re getting a concentrated source of vitamins that far exceeds what you’d get from the mature plant.
In addition to being nutrient-dense, sprouts are also a live food, meaning they continue to grow and develop even after being harvested. This ongoing growth ensures that you’re consuming a vibrant, living food packed with vitality and life force.
Incorporating home-grown sprouts into your diet is a simple yet powerful way to boost your nutrient intake and support overall health. Whether you’re looking to increase your vitamin intake, improve digestion, or enjoy the benefits of live foods, sprouts are an excellent choice.
How to Sprout in a Glass Mason Jar
Starting your sprouting journey at home is simpler than you might think. One of the easiest methods is using a glass mason jar. Here’s a step-by-step guide to get you started:
1. Choose Your Seeds: Begin with high-quality, organic seeds. Popular options include broccoli, alfalfa, radish, and clover. Here is a link to a good seed company:
2. Prepare Your Mason Jar: Use a clean glass mason jar and a sprouting lid and a stand. Here is a link for one I like to use:
https://www.amazon.com/gp/aw/
3. Soak the Seeds: Add 2 tablespoons of seeds with one cup of water water and 4 tablespoons of apple cider vinegar for 10 minutes. This kills the harmful bacteria that maybe on the seeds. Then, rinse out several times with water. Cover the jar and soak the seeds fully with filtered water for 8-12 hours. Soaking initiates the germination process.
4. Drain and Rinse: After soaking, drain the water and rinse the seeds with lukewarm running water. Drain thoroughly for 3 to 5 times.
5. Begin the Sprouting Process: Place the jar at an angle in room temperature allowing any excess water to drain out. Most sprouts do not require a dark place or to be covered by cloth to block light. Rinse several times and drain the seeds twice daily. Once in the morning and once at night.
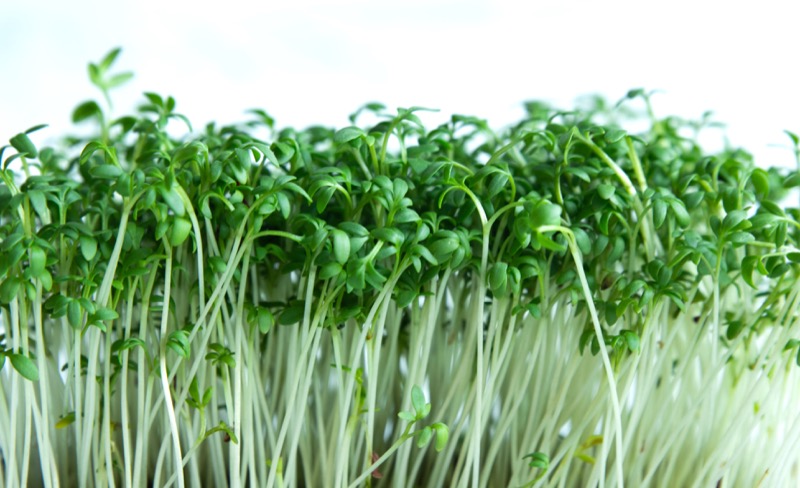
6. Harvest Your Sprouts: In about 6 days, your sprouts will be ready to eat. Once they reach the desired length and are fully green, they are ready.
7. Enjoy Fresh Sprouts: Your home-grown sprouts will stay fresh in the refrigerator for about a week. But it is best to eat them right away to enjoy the full nutritional benefits. Add them to salads, sandwiches, smoothies, or enjoy them as a crunchy snack.
By growing your own sprouts, you not only save money but also ensure that you’re consuming the freshest, most nutritious sprouts possible. Plus, the satisfaction of watching your food grow and knowing exactly where it comes from is a reward in itself.
About the author:
Shahrzad Taavoni has her dual master’s degree in Acupuncture and Chinese herbs from Yo San University in Los Angeles in 2007. If you’re interested in receiving acupuncture and tailored herbal recommendations, please call 443-982-6159 or visit www.acupunctureintowson.com. Our office is located in Towson, Maryland, in the Baltimore region.